
I've had this one on my "to bake" list for a while. It's been there for some time not due to a lack of wanting, but rather a lack of time. Time is always a challenge; I work so often that cooking and baking have been pushed to the side. But that'd gone on too long, I say! I had a work trip planned and some family coming to town, so this felt like the perfect opportunity to [hopefully] make some very happy taste testers.
On a lovely Sunday off, I decided to begin my masterpiece. I wasn't going to make regular moon pies, because that's generally not my style. I have to go fiddling with ingredients to make it "Em" in some way. In this case the change would be to the marshmallow filling.
Not everyone is a fan of gelatin, and though I consume it on occasion, if I'm baking and I can avoid it, I will. I also have a friend who loves marshmallows but doesn't eat gelatin at all; as you can imagine finding vegan-friendly marshmallows isn't the most simple task. They exist, but they are of course expensive, and only readily available at specialty stores or online. So in my moon pie creation process, I decided to do a double whammy and make them with homemade vegan marshmallows.
Something my brain never really put together about moon pies until beginning to type this post is that they are basically a member of the s'mores family. I can't explain my ability to look completely past the three trademark ingredients of the campfire favorite, but in my defense, moon pies are a rather special treat.
The start of any moon pie is a graham cookie base. This started out like a pie crust. I tossed cubes of cold butter into a flour and sugar mixture, then used the beater attachment on my mixer to gently break up the butter pieces into smaller and smaller pieces, each getting coated with the flour. I sometimes do this process with my hands, squishing the butter and tossing it in the flour pile (see pie crust recipe), but in the interest of time, the mixer works wonderfully (and keeps the butter from being warmed by my hands).

Eventually, I wound up with a chunky sand-like mixture.

Here is when I added my liquid ingredients and mixed it briefly until I had a big lump o' dough.

I then split the dough into 2 sections (more is fine too depending on space) and rolled one section out until its was 1/8 inch thick. Using my biscuit cutter, I cut circles about 3 inches in diameter out with all the dough. Use whatever size you'd like, but note that 2 are needed for each sandwich. I then baked the cookies for about 10 minutes. I repeated the rolling and cutting process until I'd used all the dough.
While shortbread like in how they are made (mostly just flour, sugar and butter and no egg), they are not crispy like a shortbread cookie. The idea is that you don't bite into it and have it snap. Once these were finished baking, I set them on a cooling rack to cool off.

The next part is truly amazing and I think I everyone should try it. Don't mind my hideous photo of liquid down below (some things just aren't pretty), but what you see here is the liquid from one can of garbanzo beans (better known in the baking world as aquafaba). What am I gonna do with that?! Continue...
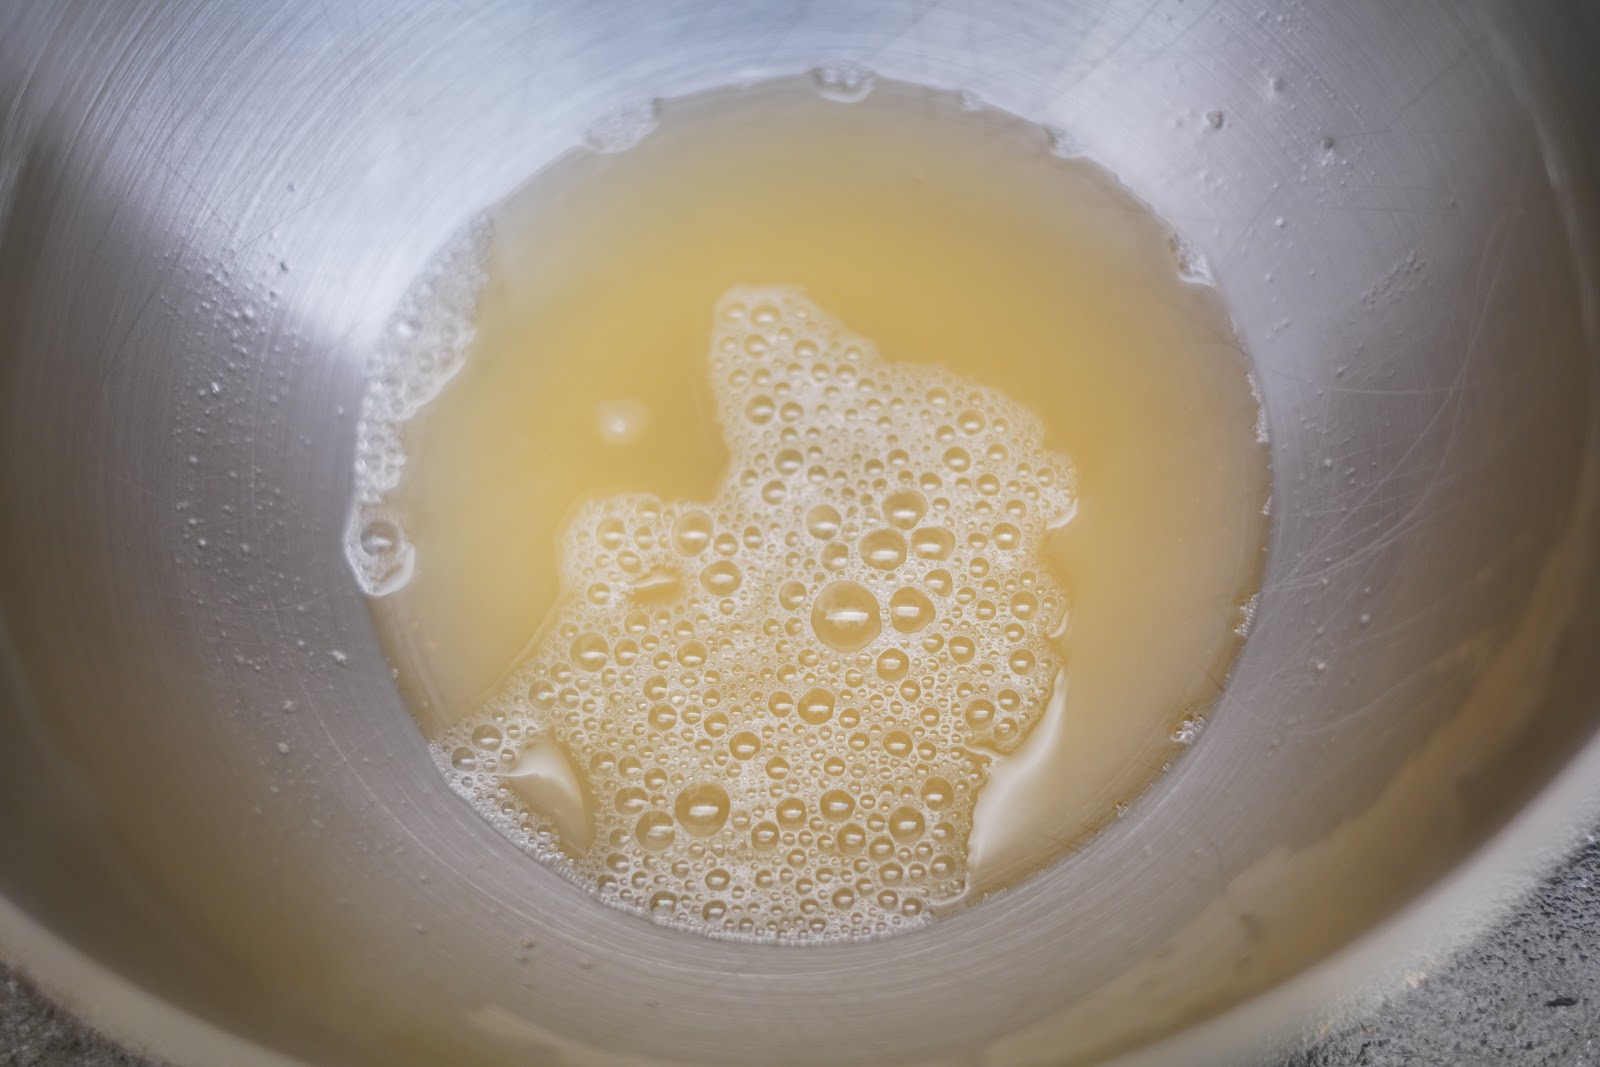
So I poured said liquid and some cream of tartar (to help it hold it's form) into my stand mixing bowl and cranked up the speed to medium high. Once the liquid began to thicken, I increased the speed to high as the splattering risk had gone down. In about 6 minutes, my little bowl of bean liquid had increased in volume at least 10 times! I mixed in some vanilla, then continued beating the mixture for another 3 minutes while I got to work on my syrup.
I made a syrup by heating the water and agar agar in a saucepan until it began to boil. Agar agar is a powder derived from seaweed and can be used as a thickener in place of gelatin, so that is the key to making vegan marshmallows (believe me I looked for all alternatives before buying agar agar online). After 3 minutes, I added the sugar and continued boiling the liquid until the sugar was dissolved (about another 3 minutes). It's important not to wait too long or the sugar will begin to brown and turn into caramel. Once the syrup was ready, I turned the mixer on low and slowly poured the syrup into the fluffy garbanzo bean liquid. Though hot, the syrup didn't deflate the puffiness, and just like that I had the base for vegan marshmallows.
Agar agar is really fascinating. I noticed in the pan where some of the syrup had remained that a thick, gelatin-like substance had developed. It reminded me of a thicker corn starch. I love this alternative.

The end result was a fluffy bunch of marshmallow.

As the consistency was thick but moldable, like egg whites, I scooped the marshmallow onto half of the cookies, trying to keep it as much in the center as possible so that too much didn't spill out of the sides when the top cookie went on. The great news is that the marshmallow mixture is fairly dense, so the weight of the top cookie layer doesn't cause it to move much. The marshmallow continued solidifying as I worked since the syrup was cooling down and the agar agar causing it to thicken.
I only wound up using about 1/3 of the marshmallow mixture that I made, so I spread what was left into a 9" x 13" pan lined with parchment paper to create regular marshmallows. I may do a separate post on that later, but you have to dry them out in the oven on low heat for a bit to get them solid enough to cut.

The final step was melting some chocolate in a double boiler. I used a combination of 90% and 72% dark cacao chocolate bars, but using baking chocolate would work fine, too. I love dark chocolate and the flavor it adds. Over medium-low heat, I melted the chocolate until it was liquidy, then spooned it on top of the moon pies and set them aside to solidify.

And there we have it. Rich, chocolate covered moon pies!

But enough nonsense. How were they? Well I have to tell you again that the marshmallow was on point, and anyone who enjoys chocolate already knows that starting out a treat by getting to bite into a rich dark chocolate already puts this cookie sandwich ahead of the game. So the flavor starts out with dark chocolate, cruises through a tasty graham cookie, and lands in fluffy marshmallow. Yes, what I'm getting at is that these were fantastic. No one would ever have known the inside was a sneaky little garbanzo bean liquid mixture. How does that even happen? I still can't believe it.
The feedback I got was all good from my test sample (seriously, at least 10 people got in on these so I for once had a great supply of info). The most critical note I got was that more marshmallow would have improved them, so I'm taking that away for next time. I may also make them bigger, because in the scheme of things, it's a lot more work to make 24 little cookies than it is to make 12 big ol' cookies. But all in all this made for a wonderful, stress-relieving baking Sunday, and I felt supremely in my element making a classic Tennessee treat. Go Moon Pies!
Moon Pies Recipe
Ingredients:
For the graham cookies:
2 cups all-purpose flour
1 cup graham flour
3/4 cup brown sugar
1/2 teaspoon baking soda
1/2 teaspoon salt
5 tablespoons cold butter
1/4 cup honey
1/4 cup coconut milk (or whole milk)
1 tablespoon vanilla extract
For the vegan marshmallows:
1/2 cup aquafaba (liquid from a can of chickpeas)
1/4 teaspoon cream of tartar
1 tablespoon vanilla extract
2/3 cup water
1 tablespoon agar agar powder
1 1/4 cup sugar
16 ounces dark chocolate
Instructions:
For the graham cookies:
Preheat oven to 350 degrees F. Add graham and all purpose flours, sugar, baking soda, and salt to a stand mixing bowl and stir using the whisk attachment until well combined. Cut butter into chunks 1/2 to 1 inch thick and add to the mixing bowl. Stir on low to break butter chunks up until the flour mixture is sandy in appearance. In a separate bowl, mix together the milk, honey, and vanilla, then slowly pour into the mixer while it is on low speed to combine ingredients. The dough should begin to form into a ball within 1-2 minutes. If it is too dry, add some more milk. Form into a ball and divide into 2 or more portions. On a pastry board or counter space lightly coated in flour, roll out one portion of the dough until it is 1/8" thick. Use a biscuit or round cookie cutter to cut out the rounds and add to a parchment lined pan. Bake for about 10 minutes, until the cookie has browned slightly, then set aside to cool.
For the vegan marshmallows:
Add the aquafaba into a stand mixing bowl with cream of tartar. Beat on high with the whisk attachment for 6 minutes, until the mixture becomes light and fluffy. Add in vanilla extract and continue beating for 3 more minutes. Stiff peaks will form when the beater is removed when the mixture is ready.
In a small saucepan, boil water with agar agar for 3 minutes, stirring throughout. Add sugar and continue stirring for about 3 minutes until it is dissolved. Remove from heat; turn stand mixer on low to continue stirring the fluffy mixture, then slowly pour the hot syrup in until it is combined.
To complete the moon pies:
Working quickly after completing the marshmallows, spoon some of the marshmallow onto half of the cooled cookies. Top with a second cookie to complete the sandwich, then wipe any excess that has spilled out the sides.
In a double boiler (or in the microwave, heating in 10-15 second increments), melt chocolate. Spoon melted chocolate over completed cookie sandwiches, then set aside to cool. Refrigerate to keep fresh longer.
adapted from homemade moon pies and vegan marshmallows
No comments:
Post a Comment